I am currently limited on space, so I don’t use the Silhouette Cameo that often, however, when I break it out we try new things! I have joined several silhouette groups on facebook to learn new things that this awesome machine can do. With following the groups I have discovered using freezer paper to make stencils and painting the design on shirts.
This has to be one of the neatest things! Okay, so there are other neat things as well, but this was something fun I could do with my daughter and my niece, both loved it. They decided to do more difficult designs, but we had fun with it.
If you have a Silhouette Cameo, all you need to make a stencil is freezer paper. You can pretty much use the stencil on anything, towels, shirts, hats, pillows, or whatever your little heart fancies.
To make a shirt using paints and freezer paper, there’s a few things you will need.
What You Need
Blank Shirt (I purchased mine at Wal-mart, however, you can purchase just about anywhere.)
Delta Textile Medium (my Wal-mart didn’t carry this product)
Acrylic Paints (you can use fabric paint and skip the textile medium product, however, fabric paint is expensive and I like going cheap!)
Iron
Freezer Paper ( I got a huge role at it from Wal-Mart)
Silhouette Cameo
Scissors
Piece of Cardboard
and a lot of Patience!!!
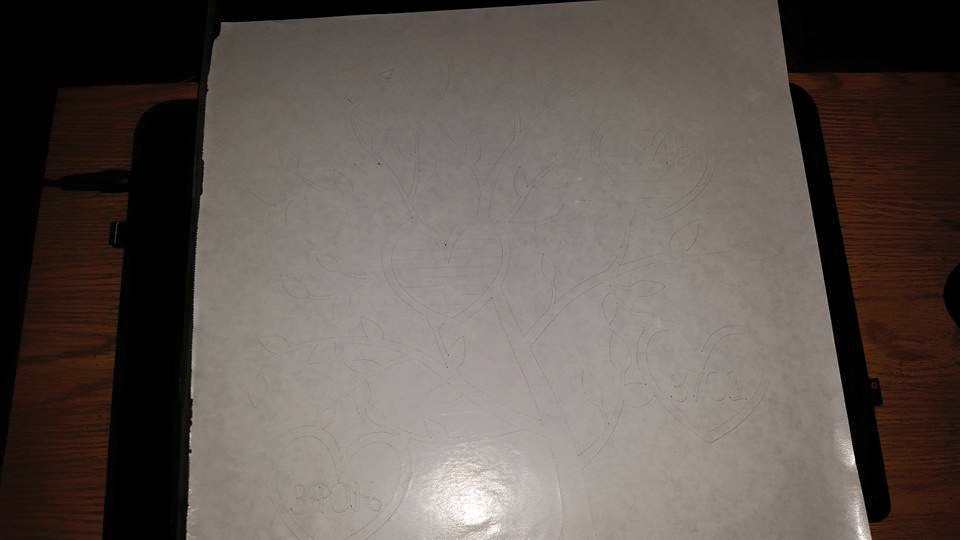
First step is to figure out what you want the design to be, I let the kids pick what they wanted, somethings I knew would be a challenge so I had them switch. After you know what you want, take the image put it into the Silhouette Cameo software and trace it.
After you have it traced the way you want it, you take your freezer paper, make sure it’s freezer paper other paper will not work!!! You place your freezer paper on your mat, I suggest shiny side up, and then mirror your image in the Silhouette program before you cut, I cut everything like I would the vinyl same settings.
Once it’s cut, you take your shirt and I like to place the cardboard inside the shirt before I move forward, this makes ironing easier, and makes sure the paint doesn’t bleed through. Take your newly cut stencil and place it where you would like on the shirt, if you cut a messed up design, you will have to piece it all together, this can be a pain in the behind, but if you take your time you will have an awesome product.
Once you have your design on your shirt, iron it all down, again make sure shiny side is down. Shiny side up when you cut, but down when you iron.
Now you’re ready to get to painting! Mix the textile and paint, 1 part textile to 2 part paint. I also used the blow dryer in order to dry it faster, so it didn’t take as long.
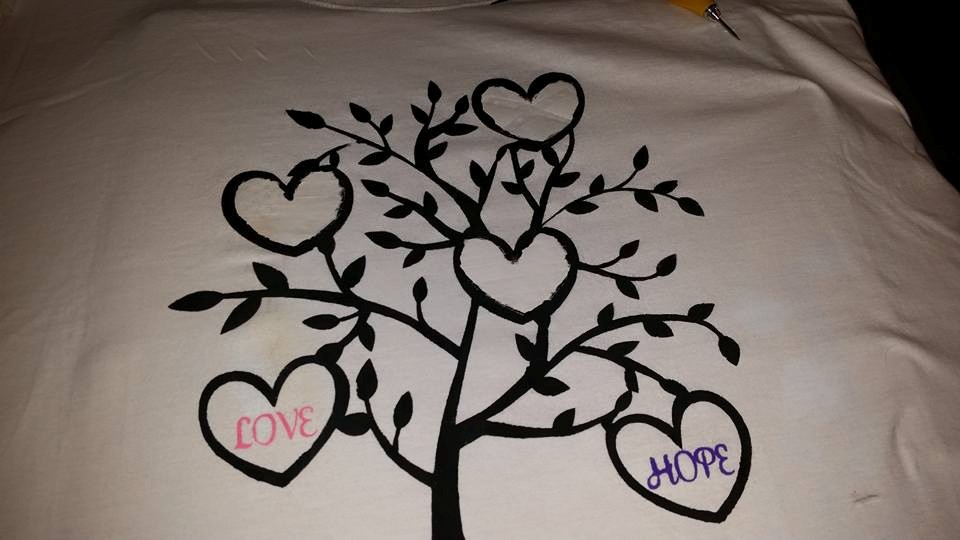
With working with different colors, I had to use the blow dryer, this made the process go faster. Since I made the shirt detailed, I had to do most of the top 3 hearts by hand. I wanted a shirt that was unique. So I made the top three hearts be the flags, the American Flag, the Confederate Flag, and the Gay Pride Flag.
After everything was dry you peel up the freezer paper and enjoy your master piece.
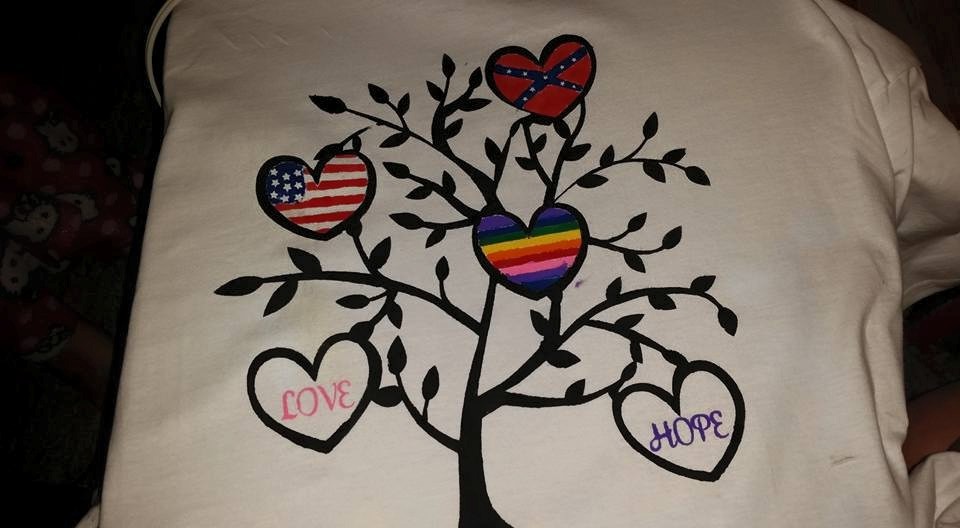
Again, the flags are not perfect and when I was about done I accidentally toughed the shirt with the brush, however, it’s my shirt and I like it!


Speak Your Mind