The human body is susceptible to all kinds of illnesses and injuries, and sometimes these will come at the worst possible time and catch us completely unaware. You’ve all probably seen in films where people are in a restaurant and someone suddenly starts choking on their food. Someone always rushes over and says ‘I’m a doctor!’ and saves their lives. But did you ever think about the fact that you don’t need to be a doctor to perform this kind of life-saving process?
Any of us can become trained in basic first aid: this will often include how to dress wounds, bandage someone and also unclog their airways. But if you take a more advanced version of the course such as a bls certification, you may also be able to perform more crucial medical practices.
Cardiopulmonary resuscitation (CPR) is a process which can save a life during either a breathing emergency or a cardiac one. You can be trained this skill at the course, but often it can be a little difficult to remember the steps and method accurately if you are in that situation. To help you with this, we have a step by step guide on the basic CPR moves, so that if your loved one or a stranger is ever in need, you can be the one who runs over shouting ‘I’m trained in CPR!’.
1.Before you give CPR to a patient, you need to make sure that the scene is safe for you to approach and that there aren’t any hazards which you or they could hurt themselves on. Once you know that it is safe, ask them if they are ok and make sure they need your help.
2. Call the emergency services right away if you notice that the person needs medical attention. If you are in a crowded place you can ask someone nearby to fetch an AED (Automated external defibrillator). Most of the time if you are near a large store such as Costco, they will have a couple inside the premises which you can borrow if you need to.
3. Open the airway by tilting the person’s head back so that the tongue isn’t blocking air getting into the body.
4. Make sure the patient is breathing. Listen for 10 seconds with your head on there chest to see if they are breathing steadily. If they give out the occasional gasp, this does not mean that they are breathing. If you notice no breathing, then it’s time to start CPR.
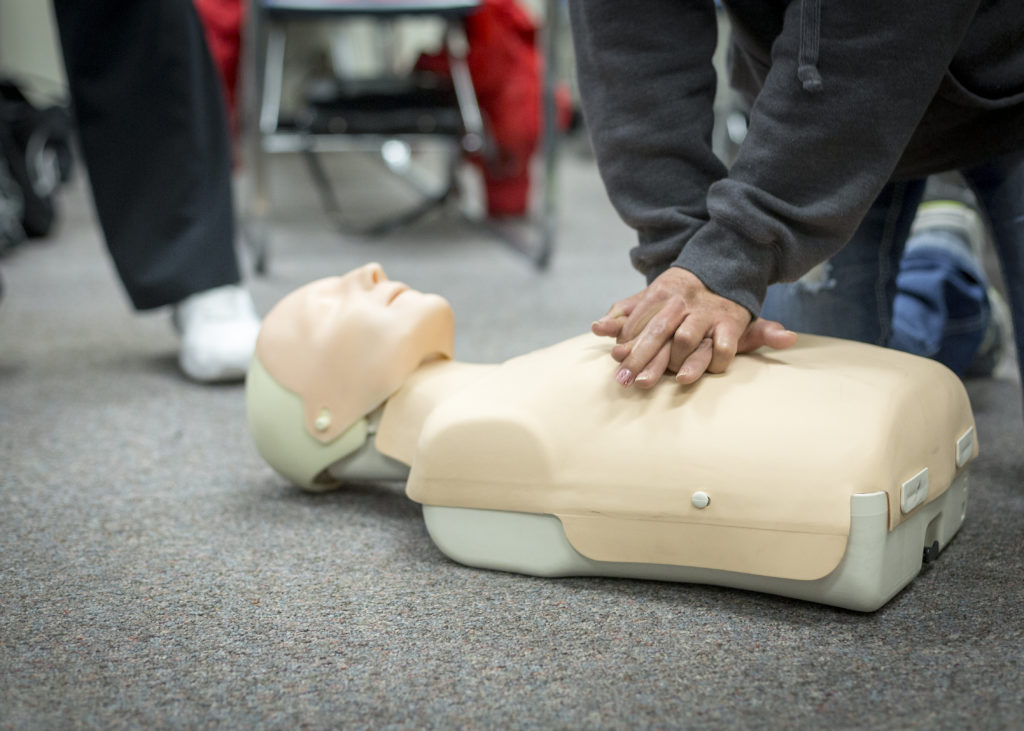
5. Push hard and fast on the chest, placing your hands one on top of the other in the middle of the chest. Use your bodyweight to administer compressions which are approximately 2 inches deep and delivered at a steady rate. If you don’t know how quickly to administer the compression- think about singing the Bee Gees song ‘Staying Alive’ in your head and press on every beat.
6. Deliver mouth to mouth to the patient.Tilt their head back and lift their chin, pinch the nose shut and place your mouth over theirs, breathing into their body to give them oxygen. Deliver two breaths and continue the compressions. Make sure that the chest rises when you breathe into the person’s mouth. If it does not you will need to retilt the head and try again. If it still doesn’t- there may be something blocking the airway.
7. Continue compressions by doing 100 compressions and 2 breaths in cycles until a medical professional arrives, you get access to the AED or the person shows signs of life.


Speak Your Mind